Production Diary
Key: 1
Key: 2
Key: 3
Key: 4
Section-01- Video Test Production
March-22nd 15:06 PM
I firstly sketched a basic flat-plan of the way I wanted to position out and visualize my 'mise en scene'. I used very similar tools and resources to when I did my audience profile. I decided to use the pen, pencil and paper method once again during my pre-planning stages as it is simple, straightforward and effective. It also means that it is very accessible to towards everyone else as since the flat-plan drawings were not done digitally, it makes the element of passing down copies of the same flat plan to my cast and crew a lot easier to do as photocopying is much more efficient. It also allows others smoother access to my sketches and ideas as they wouldn't need to wait for me to send them all an induvial J-peg photoshop file for them to access it. This helps to speed up the production writing process aswell as anyone can grab and look at my sketchbook at anytime when they are in need of a visual reference.

I sketched out potentially 3 camera angles from my storyboard that I really wanted to try. (A long shot, Low-Angle Close Up and Medium Shot) I picked these ones in particular because they showed most of the subject's face and body. They shared my cohesive leading lines and showed the most logical continuity which will be important when I come to edit them as I will be overlaying lot's of additional screenshots, images, fonts & texts that will aid the interviewee's topics of discussion appropriately and effectively. I did my pencil sketching again very similar to my audience profile designs, however I used the green pencil to outline the 'imaginary' viewpoint of the camera. Meaning I drew where I wanted the camera's lens focus to be. This is a very typical practice that is found in many storyboard artists illustrations for the director to dictate how the camera's view will resonate upon accordance to the subject.
Cast/Crew (On Set)


However, when it came to shooting some of the first basic sets of test footage, I encounted a problem with the test footage that I was shooting.
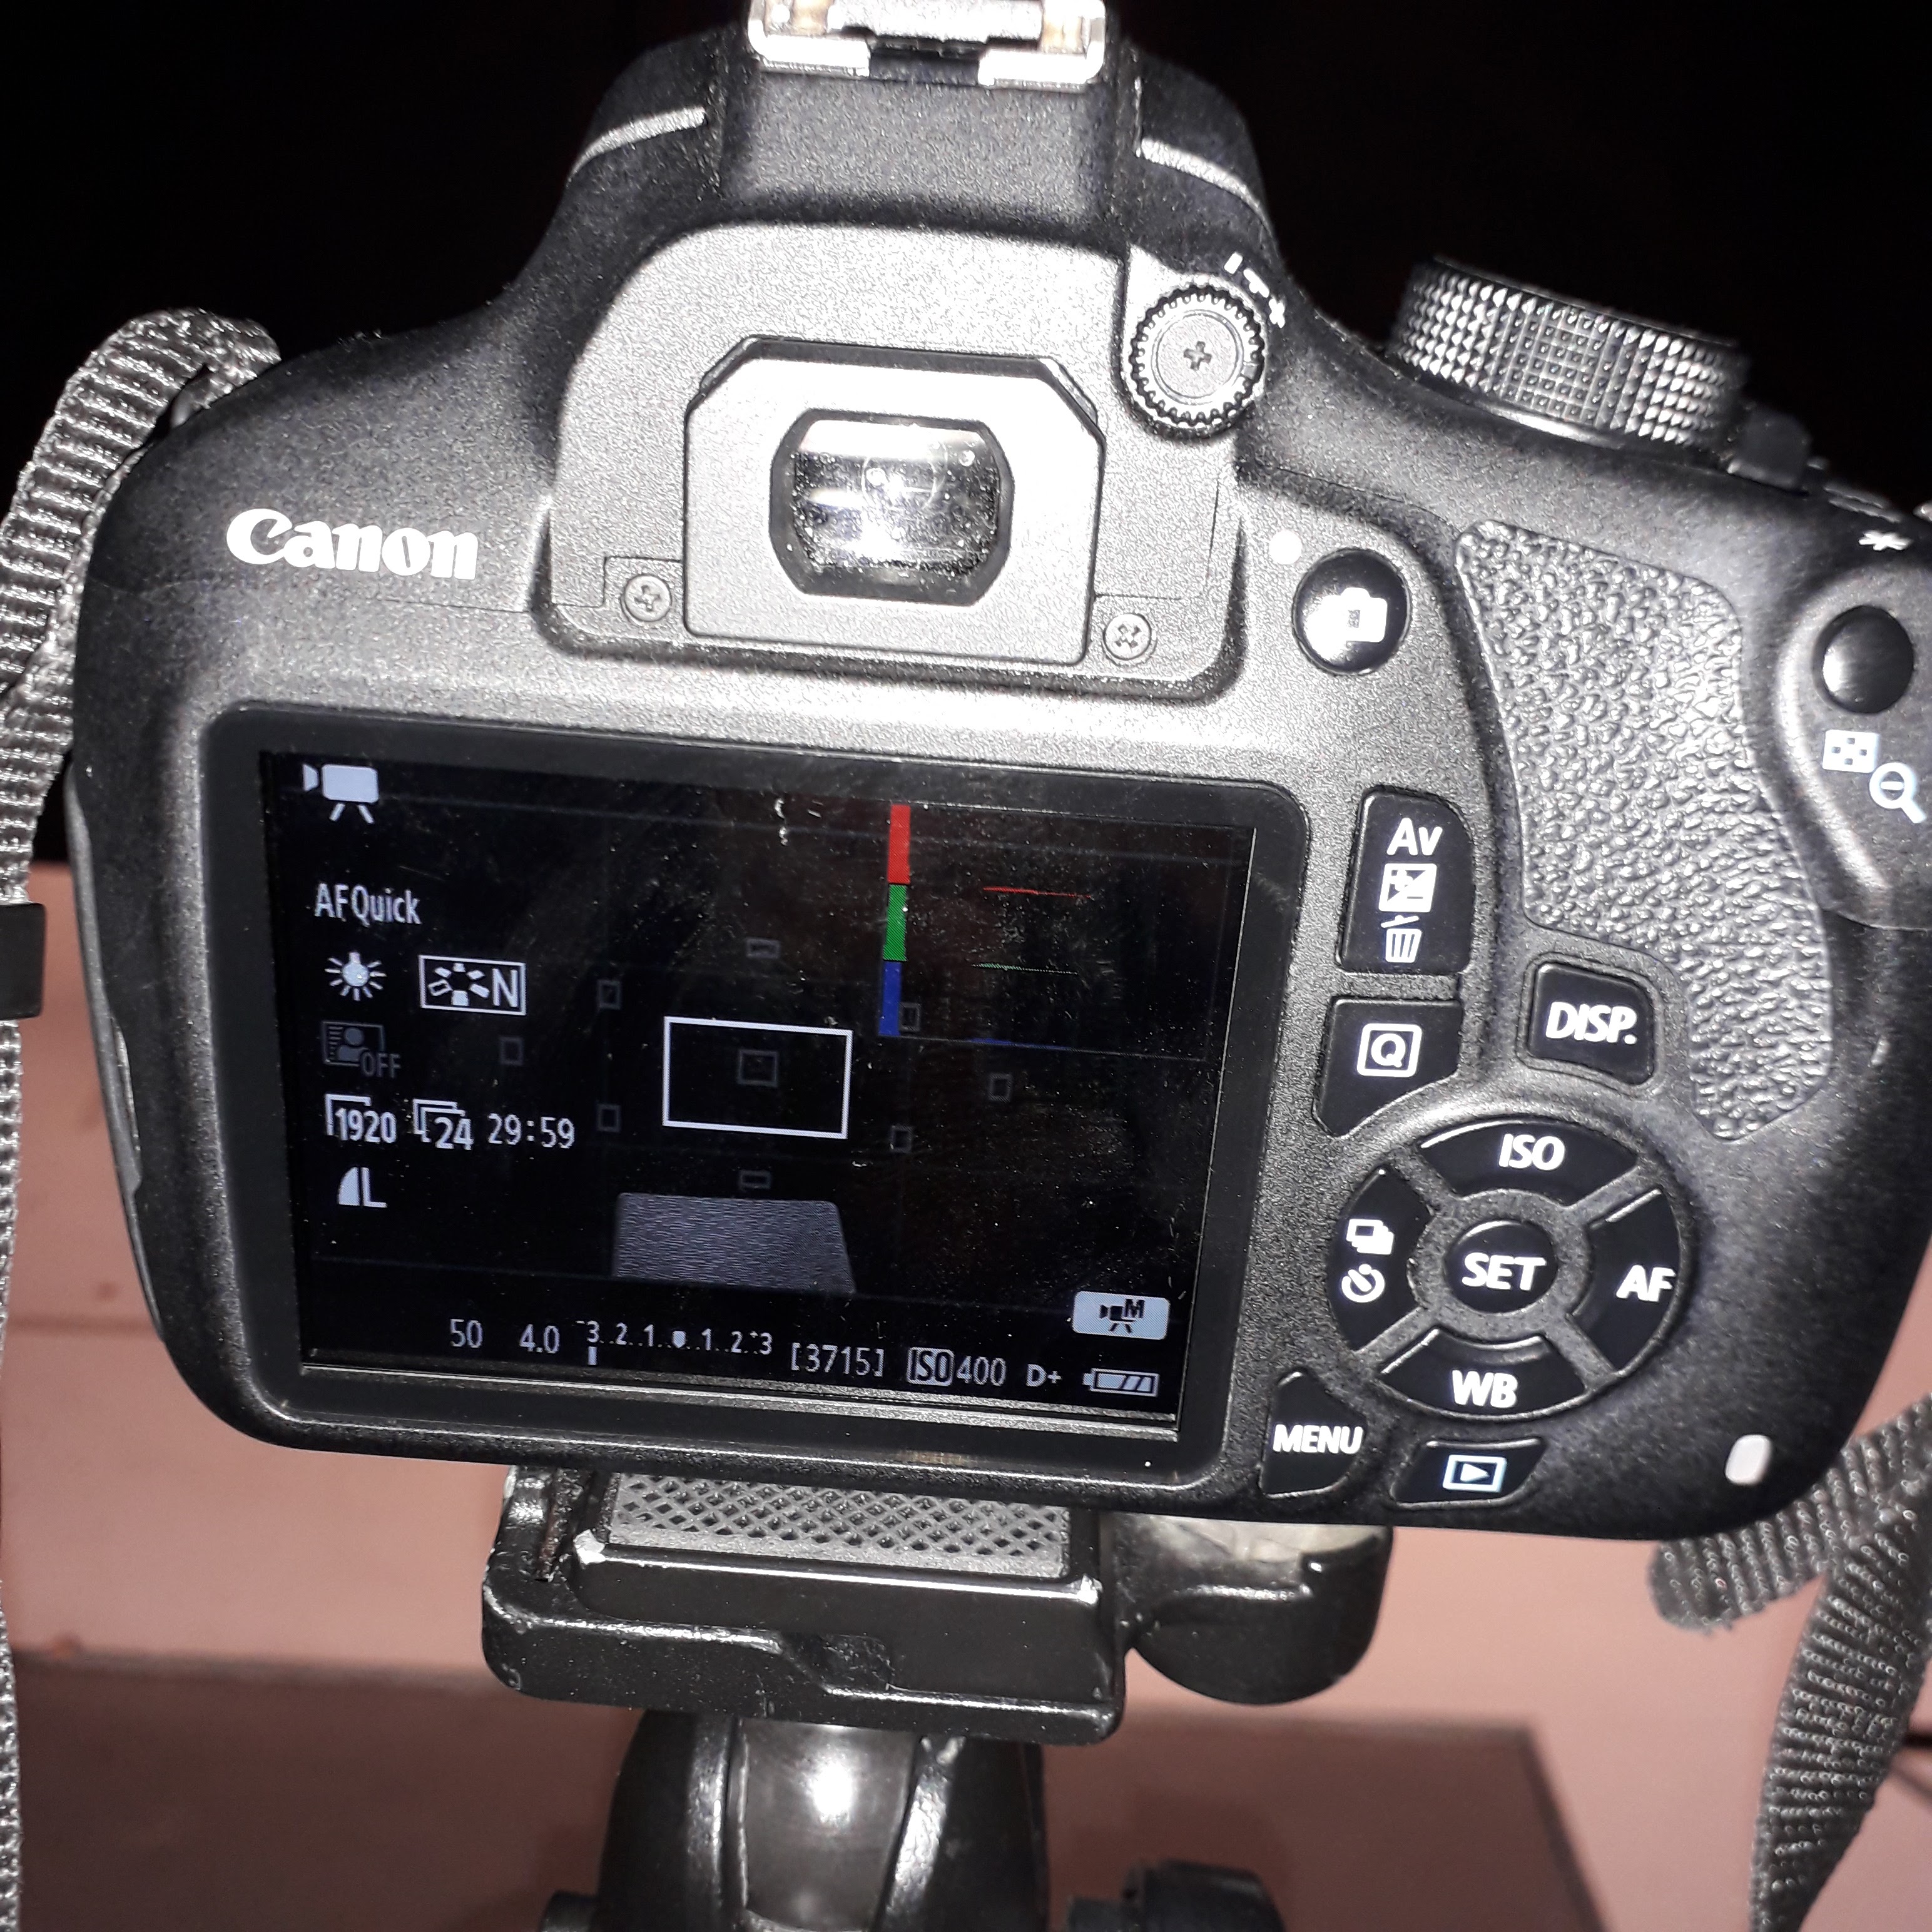
The subject would be squinting half the time during an interview recording session as the both the key light and fill light where absent in having a proper designated diffuser of them both to filter the light out and mask it's intensity a little. Additionally the harsh and rough shadows created by the lighting equipment I was using was not gelling very well with my camera's settings and created an overall very nasty looking image that looked blotered and made the subject very unflattering. I was disappointed with the set-up that I had and had to come up with a plan-B.
28th-March 13:58 PM
Alternatively I deciphered between the rest of my cast and crew any kind of suggestions that could be made to improve the lighting situation. Whilst talking it over with my 'lighting technician' (Rob) we came up with an overall much better set-up than before hand. I changed the 1050W EzyLite Softbox Twin Head (which served as my primary key-light) and then replaced it with the Daylite4 MKII 34000W which collated better with my white balance set-up in my camera much more nicely as the 34000 level wattage in the light bulb complimented the 120,000W setting in the camera. This allowed it much smoother blend already between the camera's live view and the studio's density brightness. The angle of which the new key-light was set upon remained unchanged from the previous light that was there before, however the height was noticeably higher (although not by a lot) this was due to light's brightness spread being different compared to the old light as it was a circular diffused light as compared to the metalish 'cone' version. Which produced tremendous amounts of heat in addition to the the already warmly heated studio. To counteract this I worked closely with my Health & Safety Operative (Lewis) to ensure that my choice of lighting was done both professionally and wisely, to keep both the cast and the crew safe from overheating and the danger of de-hydration.

The reflector that you can see on the left hand side of the subject area positioned approximately at 90 degree right angle, tied behind a prop-up chair to hold it's weight and a collection of rope and string wrapped around two additional lamp posts that we where not using during the production area. This was done on purpose to maximize the amount of light we could get out of the reflector, I also distinctly chose a much larger reflector than what we needed as the wider the density of the reflector is, the more reduced splash back and shadow intake it creates. This proved to be much ideal that the previous set-up that I originally planned as it proved not only more plausible & piratical amongst the current studio setting, but also reduced the amount of electrical usage within the studio itself as only one true light source was used throughout the whole production. This also helped making out potential health & safety hazards far easier for my cooperative to make out, spot and target.

Once I and everybody where happy with the final set-up and agreed that we all collectively liked as a whole, I carefully marked out the outline of each light stand and prop that we had used, before we removed them and took them way. I purposely did this to eliminate any technical problems when resetting the stage. This way, we could set-up exactly the same way we did last time and limit the chances of forgetfulness.

Showing the changes that where made in video context...
Side Note: March-31st 15:40 PM All changes were made before the Easter Holidays and edited footage shown after test production, has now concluded. The final shoot of the Documentary will be ready to begin in the coming week upon return.
End Of Test Production
Section-02 -Audio Production
April-1st 11:35AM
Sourcing Appropriate sound and music for my Documentary video was the secondary piece to tackle during pre-production stages as sound is one of the most important aspects of both television & film work because it engages the audience to help deliver information which increases the production value, it also helps to evoke emotional responses and emphasis what is on screen and is used to indicate mood. When to very good use, language, sound effects, music and even silence, can elevate a video dramatically.
I started hunting online for non-copyrighted/royalty free music and sound effects to add in to my video production.
Side note: There where actually 15 websites that I looked through, however I did not include absolutely everything that I researched with non-copyrighted music and sounds as I would be here all day documenting them all, theses are just highlights of websites the that I found that really caught my eye.
(https://www.chosic.com/free-music/calm/ )
(https://www.ashamaluevmusic.com/no-copyright-music)
April-2nd 9:56PM
https://docs.google.com/forms/d/13zaLRjuiH0hCs5mYlQLC6Xzd9SDQtDw063wGLGWSJyg/edit#responses


End of Audio Production
Section-03 -The 'Real' Production
1: Setting Up For The Shoot
Arriving earlier for the production I decided to set-up the basic lighting set-up myself as the rest of my production team and interviewees hadn't arrived yet. However you may notice the set-up to be different. That's because I encounted a technical difficulty with some of the electrical sockets within the studio as some of them where not in operation. So to counter-act this I had to switch the lighting set-ups around a little bit to at least mimick the effective lighting that was demonstrated in the test footage a week earlier. Leon and I both discussed it and thought it was the best plan of attack.
2: Getting The Interview Questions Right, And Writing Them Down

However, during an alternative take during the interview with Rob, he sparked a very critical and important point onwards one of my first questions which actually affected some of my other interviewees responses, is that question-1 as whole is ultimately quite vague and un-specified as to what I actually wanted them to respond to. This effected the level of communication between me (The interviewer) and 'the interviewee' so to counteract this a changed the wording of my question for a more suitable response to what I wanted.
3: That's A Rap...Yeyyyyyy!
Video shooting is done and dusted, not much to document other than the confirmation of the video production on set is now totally finished. Here are a few highlights and fun little bloopers that where made throughout the shot. Otherwise, onward to Post-Production!
End Of The 'Real' Production
Section-04 -Post Production
The basic editing process had started to begin during this stage. To begin with, opened up Primere Pro located on the desktop tab and started importing my files by clicking on the left hand box titled 'IMPORT MEDIA' then I highlighted all of the video clips that I wanted to use out of the inserted SD-card, then dropped them into my importing folder. I then started by sifting through my video clips that I captured, determining from an editor's stand point which clips where the better takes with the supeioer context. I then used the 'MARK IN' and 'MARK OUT' tools on either side of my clips to select the part of the clip that I wanted to utilize then dropped straight on my editing timeline.
Part-1
Part-2
I then reapted those exact same steps each and every time throughout the basic editing processes.
Part-3
I left gaps in-between certain edits to make room for any additional title text or wording to aid the tatical pacing of the video and for the audience to get a better grip where they are in the video space as they are watching.
Feedback
https://docs.google.com/forms/d/e/1FAIpQLSeyOTIaEo5aXS1aW4tah2BranaMr2fKZoVpa0ng41Hshy5EQw/viewform

Final Product


Comments
Post a Comment